
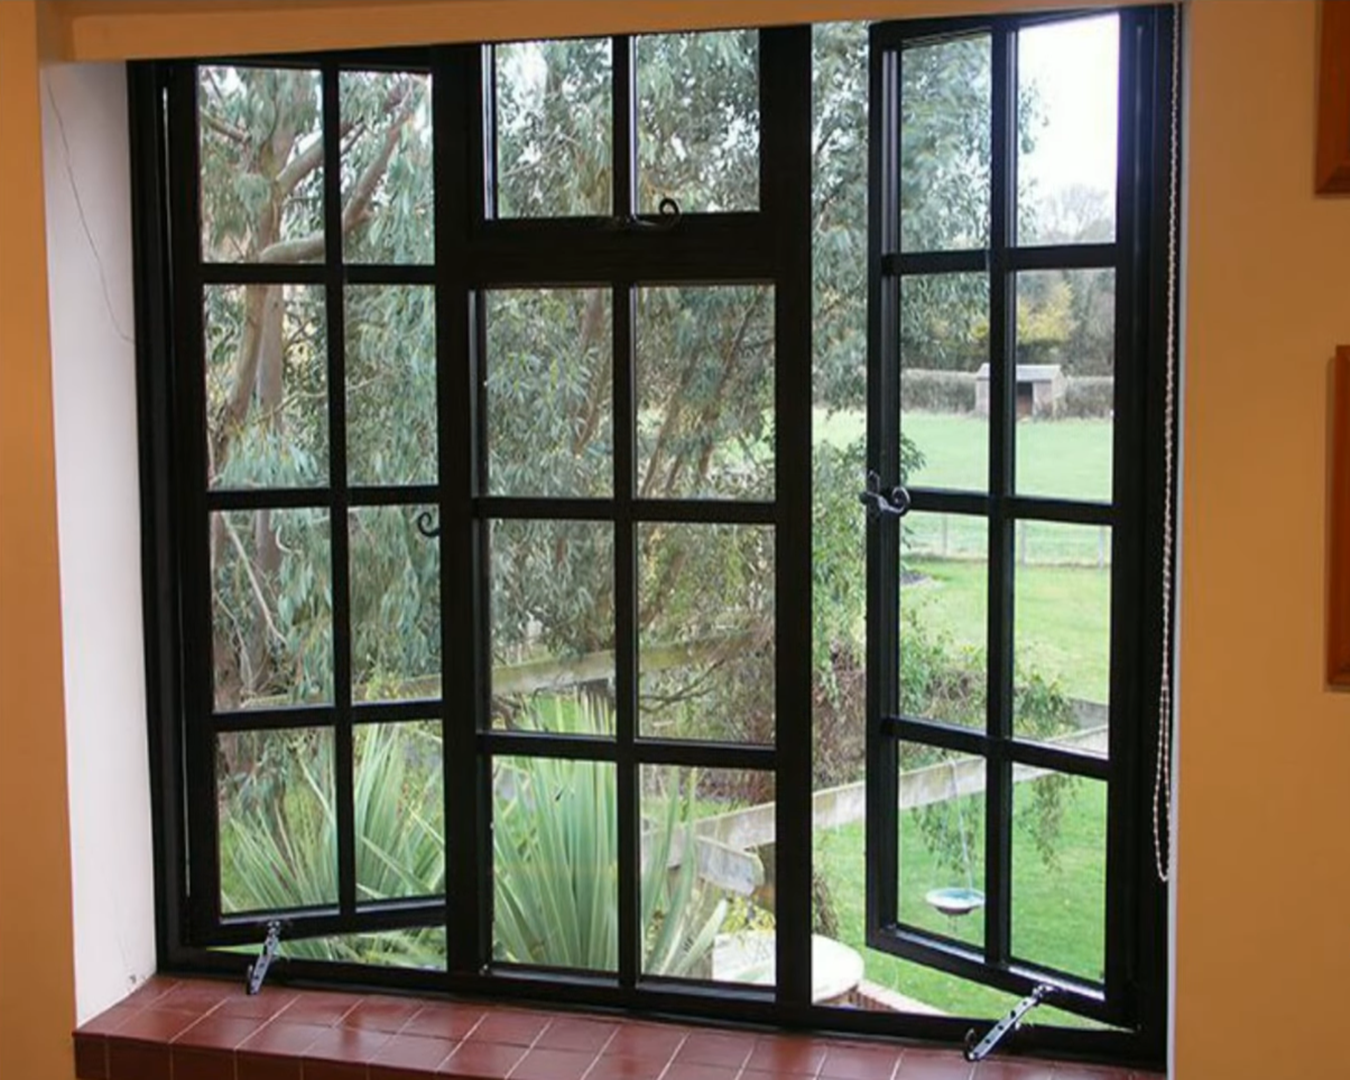
Replacement Window Installation Guide
How Replacement Windows Are Installed on Gulf Coast Homes
A replacement window can be well made and still disappoint if the opening is measured incorrectly, hidden damage is ignored, or the new unit is sealed without a clear water-management plan. Southern Home Improvement Center explains what homeowners should expect before, during, and after professional replacement window installation in Southeast Louisiana and along the Mississippi Gulf Coast.
Inspect the Opening
The existing frame, sill, trim, wall finish, and signs of previous water entry help determine the right installation approach.
Control Air and Water
Flashing, sealants, insulation, and drainage details must work with the wall assembly instead of relying on a cosmetic bead of caulk.
Verify the Finished Work
Each window should operate smoothly, lock correctly, sit evenly, and have clean interior and exterior transitions.

Direct Answer
How Are Replacement Windows Installed?
Professional replacement window installation begins with an opening-by-opening review and final measurements. The crew then protects the work area, removes the old unit, examines the exposed opening, completes necessary preparation, positions and fastens the new window, addresses air and water control, finishes the interior and exterior edges, tests operation, and cleans the area.
The exact method depends on the house. A window surrounded by brick is not detailed the same way as one surrounded by siding. An opening with a sound existing frame may support a different replacement method than an opening with decay, movement, or recurring water stains. The written scope should identify what is being removed, what remains, how the new unit will be finished, and how unexpected damage will be handled.
Method Selection
The Existing Opening Determines the Installation Plan
There is no single installation method that fits every replacement project. The condition of the existing frame and the way the window connects to the wall should be evaluated before products are ordered.
Replacement Within a Sound Existing Opening
When the retained parts of the opening are stable, dry, properly shaped, and suitable for the selected unit, the scope may preserve more of the surrounding finishes. Accurate measurements are critical because the new window must fit the usable opening while leaving appropriate space for positioning, fastening, insulation, and sealing.
Complete Frame Removal
When the old frame, sill, casing, or nearby materials are damaged, a more extensive removal may be appropriate. This exposes more of the rough opening and can allow broader correction of framing, flashing, insulation, and water-management conditions, but it may also require additional interior or exterior finish work.
Why this decision matters
Installing a new unit over an unsound opening can conceal the original problem. Removing more material than necessary can also increase disruption and finish work. A good proposal explains the selected method and the visible conditions supporting that choice.
Pre-Installation Review
What Should Be Checked Before the Old Window Comes Out?
Frame and Sill Condition
Soft wood, peeling finishes, open joints, staining, movement, and previous repairs can change the work required at the opening.
Possible Water Path
Water marks do not always prove the window itself is the source. The head, sill, wall, trim, roof runoff, and nearby exterior joints may need review.
Wall and Exterior Finish
Brick veneer, siding, trim wrap, and other finishes affect access, removal, flashing connections, sealant joints, and the final appearance.
Interior Access
Furniture, window treatments, security sensors, fragile items, pets, and access to upper-story openings should be planned before installation day.
Step by Step
The Replacement Window Installation Process
Opening Review
Visible conditions, exterior transitions, operation problems, water marks, and access are reviewed before the final scope is prepared.
Final Measurements
Each opening is measured individually. Window size, configuration, finish, and installation conditions are confirmed before ordering.
Written Scope
The proposal should identify the units, removal method, finish expectations, included labor, cleanup, and allowances for additional repairs.
Removal and Preparation
The work area is protected, the old window is removed, and the exposed opening is checked before the new unit covers it.
Window Installation
The new unit is positioned, checked for square and level, fastened as required, and integrated with the opening using the specified sealing and water-control details.
Final Review
Operation, locks, visible joints, interior and exterior finishes, cleanup, and care information are reviewed before the project is closed.
Gulf Coast Performance
Water Control Is More Than Exterior Caulk
Wind-driven rain can push water toward window joints from directions that ordinary vertical rainfall may not. A durable installation should manage the connection between the window, the rough opening, and the surrounding wall. Exterior sealant is important, but it is only one part of that connection.
Sill
The bottom of the opening should support the window and preserve a path for incidental water to move outward. Manufacturer drainage openings should remain unobstructed.
Jambs and Head
Side and top transitions should be detailed for the selected window and wall assembly. Existing flashing, building paper, trim, and cladding conditions affect the correct approach.
Air-Sealing Gap
The space between the window and opening requires an air-sealing and insulation strategy that supports comfort without forcing the frame out of alignment.
Exterior Transition
Brick, siding, trim, and sealant joints should shed water and leave a clean, serviceable finish. A thick bead of sealant should not be used to hide an oversized or poorly prepared gap.

Homeowner Preparation
How to Prepare for Window Installation Day
Move furniture, plants, lamps, electronics, and fragile objects away from each scheduled opening.
Take down curtains, shades, blinds, and removable hardware unless the written scope states that the crew will handle them.
Keep them away from work paths, open windows, tools, debris, and doors being used by the crew.
Identify security contacts, wired sensors, and other devices connected to the existing windows before removal begins.
Window removal can create vibration and dust. Remove wall art and delicate items near the work area.
Provide a practical route for windows, ladders, tools, and debris while keeping driveways and gates available as agreed.
Written Expectations
What Should a Window Installation Proposal Include?
Two quotes can include similar windows but describe very different installation work. A useful written proposal should make the following items easy to compare.
- Window count, location, size, operating style, finish, grids, glass package, and hardware selections.
- What parts of the existing window, frame, casing, trim, or wrap will be removed or retained.
- How interior and exterior edges will be insulated, sealed, trimmed, wrapped, repaired, or finished.
- Whether disposal, debris removal, job-site protection, and final cleaning are included.
- How concealed deterioration, damaged framing, or other additional work will be documented and approved.
- Product documentation, workmanship coverage, scheduling conditions, and homeowner responsibilities.
Older painted openings need additional planning
When painted surfaces may be disturbed in a home built before 1978, ask how applicable federal or state lead-safe renovation requirements will be addressed. This should be discussed before removal begins, not after dust is created.
Quality Check
What Should Be Reviewed Before the Crew Leaves?
Operation
Sashes should open, close, and remain in position as designed without scraping or binding.
Locks and Hardware
Locks, keepers, handles, screens, and limit devices should be present, aligned, and demonstrated.
Visible Alignment
Frames, reveals, trim lines, and adjacent units should appear even and consistent.
Sealant and Trim
Interior and exterior joints should be neat, continuous where specified, and appropriate for the surrounding finish.
Drainage Details
Factory drainage paths and weep openings should remain clear rather than being buried under sealant or debris.
Cleanup and Documentation
Old materials and debris should be removed as stated in the scope, followed by a review of care and product information.
Project Timing
How Long Does Replacement Window Installation Take?
Many residential replacement projects are completed over one to several working days after the windows arrive. The actual schedule depends on the number and size of openings, upper-story access, the installation method, brick or siding conditions, interior and exterior finish work, concealed damage, crew size, and weather.
A responsible schedule should leave time to protect each opening, inspect exposed conditions, complete the specified sealing and finishing work, test the unit, and clean the area. Speed is useful only when the details are not being skipped.
Common Questions
Replacement Window Installation FAQ
Can replacement windows be installed without removing all the siding?
Sometimes. The answer depends on the selected window, existing frame, exterior finish, flashing access, and condition of the opening. The scope should explain what siding or trim must be disturbed and how it will be finished.
Do installers work from inside or outside the house?
Many projects require access from both sides. The window type, floor level, wall construction, removal method, and finish details determine where the crew must work.
What happens if damaged wood is found after removal?
The opening should be documented and reviewed before it is covered. The contractor should explain the repair needed, any change in price or timing, and obtain approval according to the written agreement.
Should blinds and curtains be removed before installation?
Usually, yes. Unless removal and reinstallation are specifically included, homeowners should clear curtains, blinds, shades, and nearby furniture before the crew arrives.
Can replacement windows be installed during rain?
Weather decisions depend on rainfall intensity, wind, exposure, the number of openings, and the crew’s ability to keep the wall and interior protected. Openings should not be left exposed to conditions that could introduce water into the home.
How can I tell whether a new window was installed correctly?
Check smooth operation, lock alignment, even spacing, clean trim, specified sealant joints, unobstructed drainage openings, and the absence of visible damage. The final walkthrough should also cover care and product information.
Does SHIC replace only the glass inside an existing window?
No. Southern Home Improvement Center focuses on complete replacement window units and the surrounding installation conditions rather than glass-only or insulated glass unit replacement.
Request a Replacement Window Estimate
Tell Southern Home Improvement Center about the windows, visible problems, project location, and the results you want. The team can review the openings and prepare a written replacement scope for your Gulf Coast home.
Request a Free Estimate