
Hurricane & Hail Roof Insurance Claims — Detailed Homeowner Guide for Louisiana & Mississippi
This practical, step-by-step guide is written for Gulf Coast homeowners in Louisiana and Mississippi. It explains what to do after hurricanes, tropical storms, or hail, and how to keep your claim moving with clear documentation and realistic timelines.
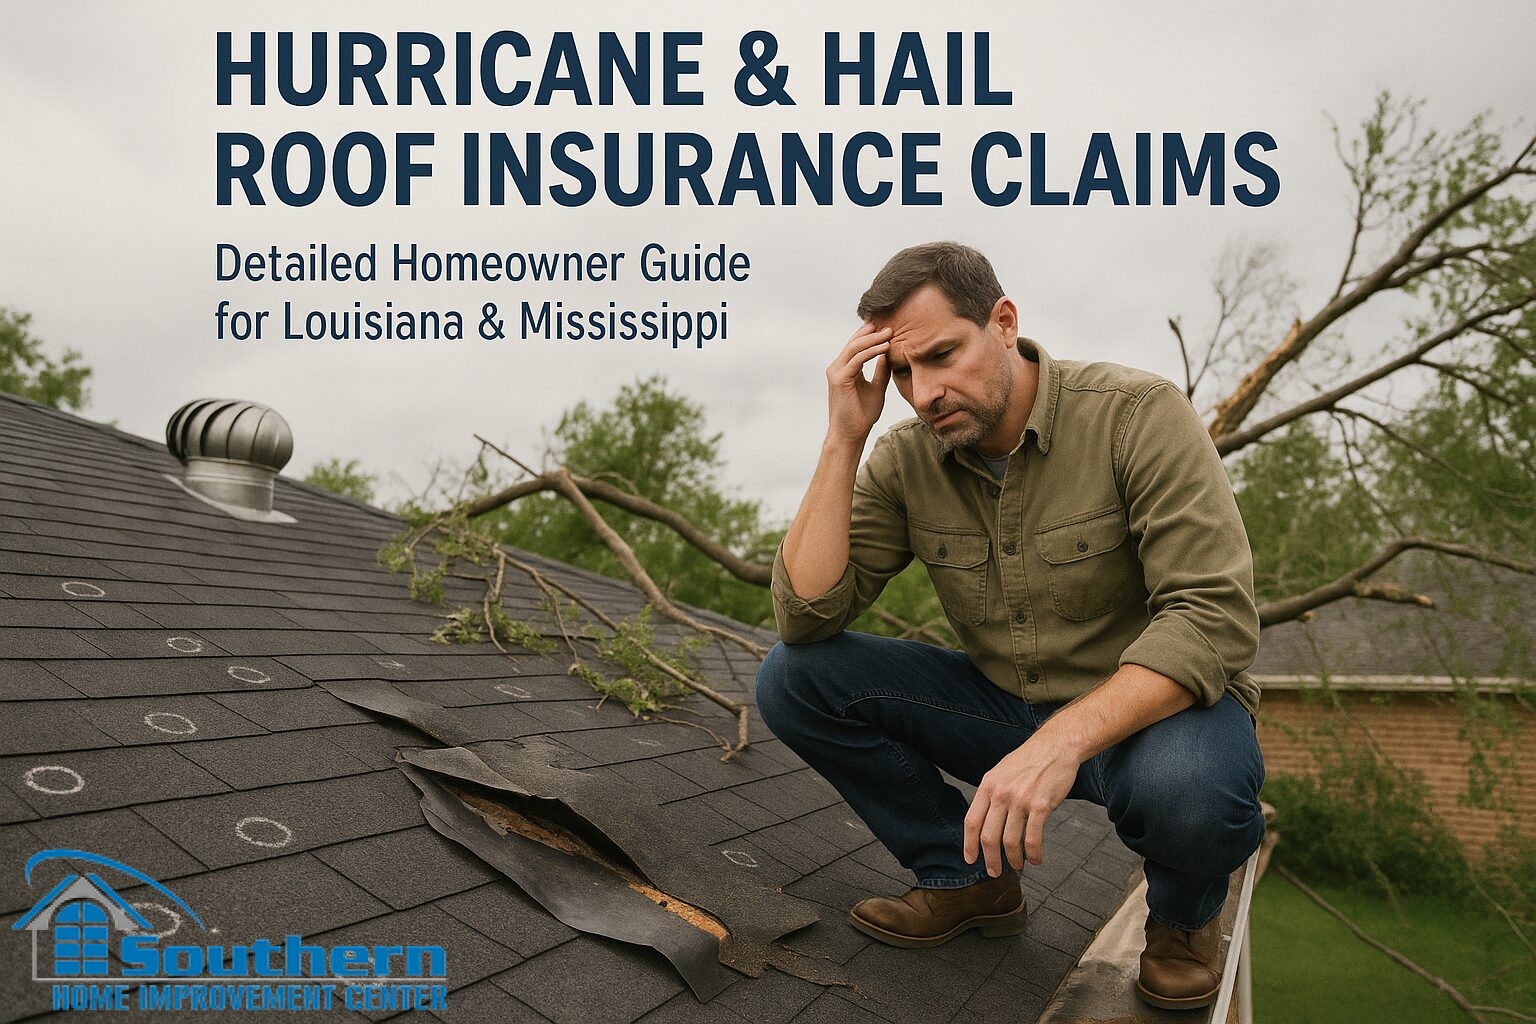
0–72 Hours: What to Do First
Right after a storm, a few simple actions prevent secondary damage and set you up for a smoother claim review. Focus on safety, stabilization, and clean records you can reference later.
- Stabilize leaks safely. Use a temporary dry-in or tarp to stop active water; avoid overloading ceilings with pooled moisture.
- Protect interiors. Move furniture, cover contents, run fans/dehumidifiers to control humidity and mold risk.
- Document immediately. Capture time-stamped photos/video of roof planes, edges, valleys, flashings, vents, attic wet spots, ceiling stains, and flooring.
- Keep damaged parts if safe. Save loose shingles or vents for inspection if you can store them securely.
- Schedule a qualified inspection. A roof/attic review clarifies whether to file and provides usable evidence for your file.
Completing these steps within the first 72 hours reduces guesswork later and helps separate pre-existing issues from storm-related ones.
Photo & Evidence Checklist
Adjusters need both context and detail. The angles below make it easier to verify how water entered and what got damaged.
Roof & exterior
- Close-ups of lifted/missing shingles, creased tabs, exposed fasteners.
- Edges & eaves: damaged drip edge, blown-off starter, fascia streaks.
- Valleys & flashings: step/sidewall flashing, pipe boots, chimney counter-flashing.
- Hail indicators: granule piles in gutters, dents on metal vents/gutters, soft “bruises”.
- Wide shots showing roof planes, slope/complexity, tree exposure and orientation.
Attic & interior
- Sheathing seams: damp lines indicating wind-driven rain through deck seams.
- Insulation: wet batts/clumps beneath ridges, valleys, and penetrations.
- Ceilings & walls: new stains appearing 24–72h after the storm.
- Simple moisture log (date/time/reading) if you have a meter; note odors and humidity changes.
Aim for clear, well-lit images and a mix of close-ups with wider context. Consistency matters more than pro-quality—clean labeling and completeness win reviews.
File Naming & Organization
Good organization avoids delays and follow-up calls. Keep everything for this storm in one place so you can reference it quickly.
- Use folders like Photos, Receipts, Estimates, Emails, and Logs under an event folder named with the date.
- Name files consistently, e.g.,
2025-09-02_roof_valley-east_creased-tab.jpg,2025-09-02_attic_ridge_wet-insulation.jpg,2025-09-02_livingroom_ceiling_new-stain.jpg.
A clear file tree helps your adjuster track each leak path from the roof surface to the interior evidence without confusion.
How to Open a Claim (Phone Script + Email)
Be concise and factual. Your goal is to open the file, share essential details, and confirm next steps without speculation.
- Phone script: “I’m opening a roof claim for storm damage at [address] on [date]. We stopped active leaks and have time-stamped photos of lifted shingles, wet attic insulation near the ridge, and a new ceiling stain in the living room. Please confirm my claim number and preferred inspection date.”
- Key asks: reimbursement process for temporary repairs; where to send receipts/photos; adjuster contact; required forms and deadlines.
- Email follow-up: subject line with claim #; brief summary; list of attached files; request for additional documentation list if needed.
Capturing the claim number, names, dates, and deliverables now prevents misunderstandings later and keeps your file moving.
Adjuster Day: Preparation & Walkthrough
On inspection day, your preparation shows. Organize your documentation and be ready to walk through each leak path from outside to inside.
- Have your photos, receipts, and a short timeline ready on your phone or laptop for quick review.
- Clear access to the attic and any rooms with stains; confirm safe ladder setup if exterior access is needed.
- Walk the adjuster to each valley, sidewall, vent, and chimney involved, then to the matching interior stain.
- Ask about next steps and typical turnaround time for the estimate so you can plan repairs.
This structured walkthrough helps connect cause and effect and reduces back-and-forth on what’s included in the scope.
ACV vs RCV, Depreciation & Deductibles
Understanding a few basic terms makes the estimate easier to read and prevents surprises when payments arrive.
| Term | What it means | Practical note |
|---|---|---|
| ACV (Actual Cash Value) | Estimate minus depreciation and your deductible. Often the first payment. | Covers initial work; keep invoices/photos to request any recoverable depreciation per policy. |
| RCV (Replacement Cost Value) | Total eligible cost before depreciation. | The gap between RCV and ACV is depreciation; some or all may be recoverable after completion. |
| Depreciation | Value reduction due to age/condition. | Recoverable only if your policy allows and you submit required documents on time. |
| Deductible | Your portion per policy. | Paid by the homeowner; reputable contractors don’t “waive” deductibles. |
Review estimates line by line. If a critical step is missing, note it for discussion and gather the documentation you’ll need to support it.
What Is a Supplement (When & Why)
A supplement is a formal request to add items necessary for a complete, code-compliant repair. It’s normal on complex roofs and after severe weather; the key is clear justification.
- Secondary water barrier (self-adhered underlayment) and taped sheathing seams to create a sealed deck on vulnerable slopes.
- Drip edge and starter details at eaves/rakes; appropriate valley materials and methods.
- Full flashing resets (sidewall/chimney/pipe boots) where patching won’t hold.
- Ventilation balancing (ridge + soffit) to control heat and moisture in Gulf conditions.
- Additional waste for steep/complex roofs and hip/ridge components.
Strong supplements pair clear photos with manufacturer instructions and local code references, showing why each line is required for a durable outcome.
Repair vs Full Replacement
Repairs fit small, isolated issues with intact surrounding shingles and good match potential. Full replacement is considered when there are multiple leak paths, widespread creasing, brittle shingles that won’t re-seal, or systemic ventilation/edge problems. Many Gulf homeowners upgrade the scope to include a sealed roof deck, reinforced edges, and verified flashings to resist wind-driven rain.
Typical Timeline & Owner To-Dos
Most claims follow a predictable rhythm. Knowing the sequence helps you plan around material lead times and scheduling windows.
- Week 0–1: Stabilize, document, open claim, schedule inspection.
- Week 1–2: Adjuster visit; receive initial scope (ACV payment). Review quantities and details.
- Week 2–4: Contractor submits supplements (if needed) with photo/manufacturer/code support.
- Week 3–6: Final scope set; schedule build; order materials; confirm ventilation and flashing plan.
- After completion: Submit final invoice and close-out photos for any recoverable depreciation.
Keep a simple log with dates, actions, and file names. A tidy paper trail speeds approvals and reduces repeat requests.
Why Claims Get Delayed
Delays usually come from incomplete files. A few habits minimize friction and keep your case moving forward.
- Insufficient angles. Provide both close-ups and wide context shots for each area.
- Missing receipts. Save every tarp/dry-in invoice and label it with the storm date.
- No attic evidence. Attic moisture lines often confirm wind-driven rain through deck seams.
- Unclear naming. Use consistent file names so reviewers can track the story.
- Scope gaps. Flashings/ventilation omissions cause extra rounds; document them on day one.
If you anticipate a question, answer it proactively in your documentation. That mindset alone removes days from the process.
Real-World Examples (Louisiana & Mississippi)
Example A — Wind-Driven Rain in Baton Rouge (12-year roof)
From the street the roof looked fine, yet interior symptoms told a different story. Here’s how the evidence connected and why the scope went beyond a basic patch.
- Symptoms: no obvious blow-offs; new ceiling stain 48h after the storm; wet attic insulation under a long valley; damp sheathing seams.
- Evidence: lifted shingle edges, valley/sidewall flashing photos, attic moisture lines, stained drywall.
- Outcome: sealed deck underlayment on affected slopes, full flashing resets, edge reinforcement, balanced ridge/soffit ventilation; interior drywall/paint.
The interior delay (stain appearing days later) matched wind-driven rain behavior, making a stronger case for sealing the deck rather than repeating spot repairs.
Example B — Hail in Brandon, MS (architectural shingles)
A fast-moving squall left subtle clues that added up. Dents on metal and granules in downspouts supported the roof findings and clarified the repair path.
- Symptoms: granule piles in gutters; dented metal vents; multiple soft “bruises”.
- Evidence: close-ups of bruised mats, downspout granules, dated sweep of all roof planes.
- Outcome: replacement scope with appropriate waste, upgraded hip/ridge components, and ventilation tuning; owner tracked recoverable depreciation after completion.
Linking accessory damage to shingle impacts created a clearer narrative and reduced pushback on the replacement recommendation.
Example C — Older Shingles in New Orleans (patchwork repairs)
Years of small patches hid larger system issues. Once brittle fractures showed up during lift tests, a piecemeal approach no longer made sense.
- Symptoms: multiple prior patches; shingles brittle and not re-sealing; recurring leaks at a sidewall and around a chimney.
- Evidence: brittle-fracture close-ups during lift test; misaligned prior patch; counter-flashing failure; interior staining timeline.
- Outcome: full replacement with sealed deck, new flashing system, and reinforced edges to curb wind-driven rain.
This transition from “repair again” to “replace now” cut repeat leak calls and improved long-term resilience for the homeowner.
Anti-Scam Checklist
Storms attract door-knockers and vague promises. Use this quick filter to separate professionals from problems.
- Licensed/insured in LA or MS; physical office; verifiable references.
- No pressure tactics or requests to sign over insurance benefits.
- Detailed written scope covering materials, ventilation, and flashing plan—not just shingle brand.
- Clear timeline, daily cleanup, and documentation you can keep.
- No promises to “waive the deductible”.
Reliable teams welcome questions, provide specific answers, and show how they’ll protect your home during and after the build.
Small Glossary
These short definitions make common estimate terms easier to parse and discuss.
- Scope of Loss: the carrier’s line-item estimate for labor/materials.
- Recoverable Depreciation: the portion of depreciation payable after completion per policy.
- Supplement: request to add necessary, code-compliant line items backed by documentation.
- Wind-Driven Rain: rain forced under shingles into deck seams and the attic.
When everyone speaks the same language, decisions happen faster and with less confusion.
Free Local Inspection & Next Steps
If you’re in Baton Rouge, the Northshore/Slidell area, Greater New Orleans/Jefferson Parish, or along the Mississippi Gulf Coast, our local team can document your roof and attic, outline a clear scope, and help you plan materials and scheduling. You’ll get straightforward photos, line-item details, ventilation and flashing strategy, and a clean jobsite plan—so you know exactly what happens and when.
Call now to compare options, timelines, and budgets for your home. Prefer messaging or after-hours? Leave a voicemail with your address and best callback time, and we’ll return with availability and a simple checklist to get started.
(985) 643-6611 • (225) 766-4244


